
Range hoods vent smoke and heat from the stove using an internal fan and filter. Generally, range hoods and the hood vent are purchased alongside a stove, but if you want to upgrade an old hood, here’s how. Advanced DIYers with electrical skills can spend a Saturday hooking up their range hood with simple tools, like an electric drill and oscillating tool. Refer to this guide to learn how to install and replace a duct or ductless range hood.
Range Hood Installation Tips
Safety should be the foremost concern before undertaking the installation of a range hood. It’s imperative to commence by switching off the circuit breaker to mitigate the risk of electrical shocks or potential fire hazards. For those engaging in first-time installations, employing an oscillating tool to meticulously carve out both interior and exterior vent holes is recommended to guarantee efficient extraction of smoke and fumes. Furthermore, when mounting the new range hood, it’s essential to meticulously connect the corresponding wire colors before reactivating the power supply. Adhering to these precautionary measures not only ensures a smooth installation process but also safeguards against potential safety hazards, allowing homeowners to proceed with confidence and peace of mind.
Locating and Preparing the Circuit Breaker
Before commencing any work with electrical components, it is paramount to locate and switch off the circuit breaker panel in your home. This precautionary measure is indispensable for ensuring the safety of both yourself and the installation process as a whole. By deactivating the circuit breaker, you mitigate the risk of accidents such as electrical shocks and potential fires. Take the time to identify the specific breaker corresponding to the kitchen or range hood circuit, and ensure it is disabled to eliminate any potential sources of electric shock. By prioritizing safety in this manner, you create a conducive environment for a smooth and hassle-free installation process, allowing you to proceed with confidence and peace of mind.
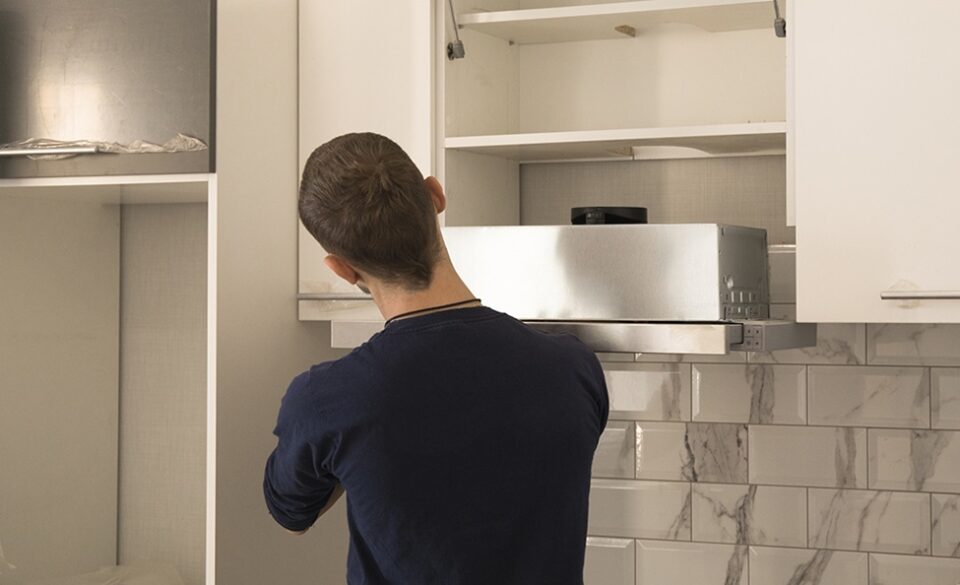
Removing the Existing Range Hood
When replacing an old range hood, the process starts by disconnecting the wiring connections and unscrewing the wire nuts. It is advisable to have assistance from another person to ensure the safe removal of the old hood. Carefully loosen the screws securing the hood in place, taking care to avoid causing damage to surrounding fixtures or surfaces. Once the old hood is detached, it should be set aside for proper disposal or recycling, ensuring environmentally responsible practices. This meticulous approach to removing the old hood sets the stage for a smooth transition to the installation of the new range hood, minimizing potential disruptions and ensuring the integrity of the kitchen space.
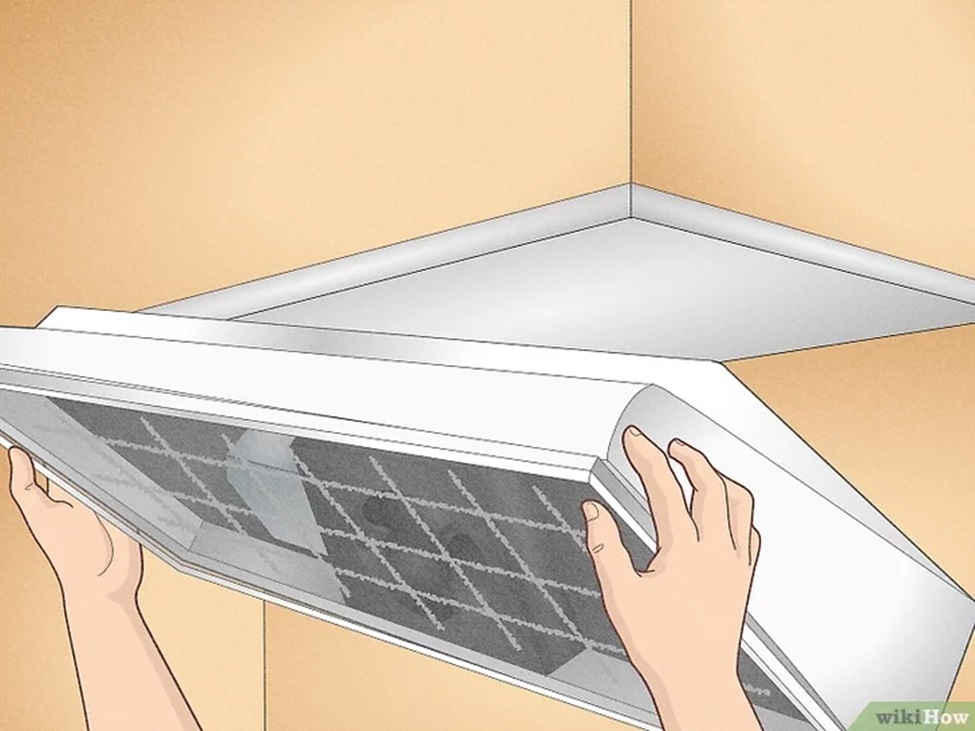
Locating and Marking the Vent Holes
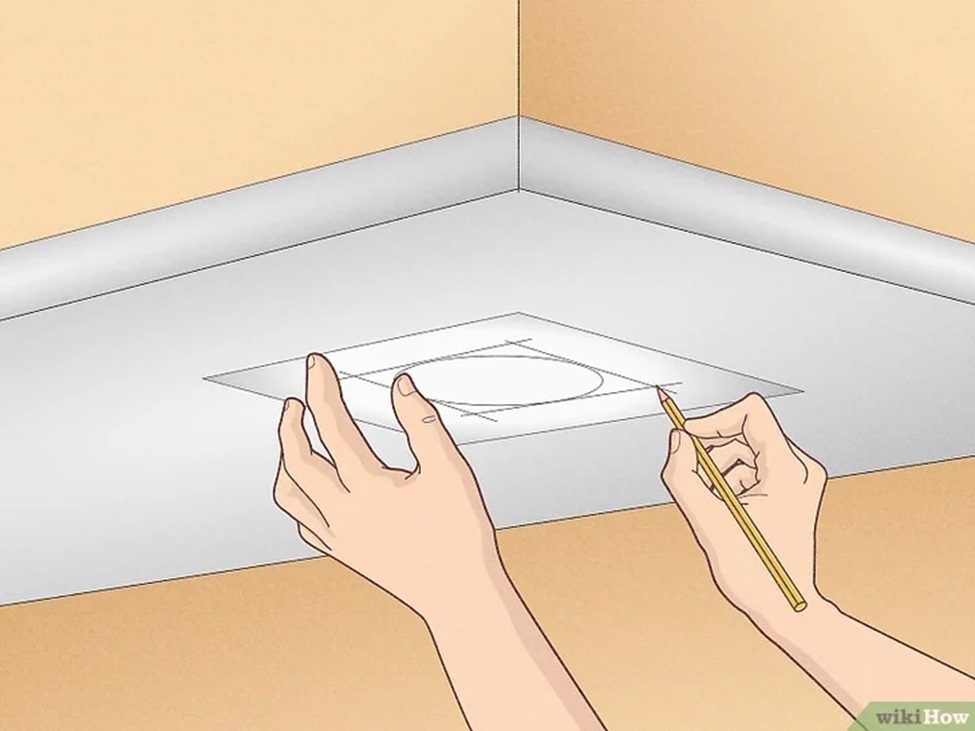
To accurately mark the vent holes for the new range hood, utilize a paper template or tape measure to ensure precision on the wall or cabinetry. Thoughtful placement of these holes is critical, as it directly impacts the effectiveness of ventilation and the removal of cooking odors and pollutants. Take into account the optimal height of the hood above the cooking surface to guarantee adequate clearance, preventing any obstruction that could impede its performance. By meticulously considering these factors, homeowners can ensure the seamless operation of the range hood, promoting a healthier and more comfortable kitchen environment while optimizing its functionality for years to come.
Cutting Vent Holes
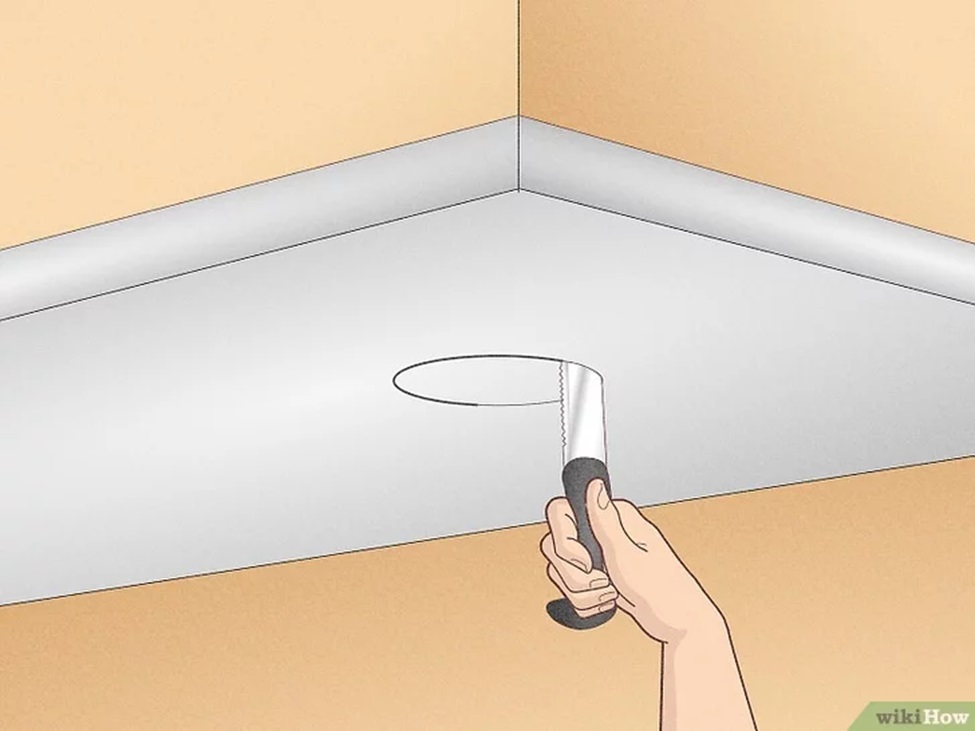
Once the vent hole positions have been marked, proceed to cut out the template shape using either an oscillating tool or a reciprocating saw. Exercise utmost caution during this step to prevent inadvertent damage to any existing plumbing or wiring concealed behind the walls. In instances where precision is paramount, consider drilling pilot holes to guide the cutting process and ensure accurate placement of the vent holes. Additionally, take proactive measures to safeguard surrounding surfaces and furnishings from potential debris generated during the cutting process. By prioritizing careful execution and meticulous attention to detail, homeowners can navigate this phase of the installation process smoothly and minimize the risk of unintended damage or disruption to their kitchen space.
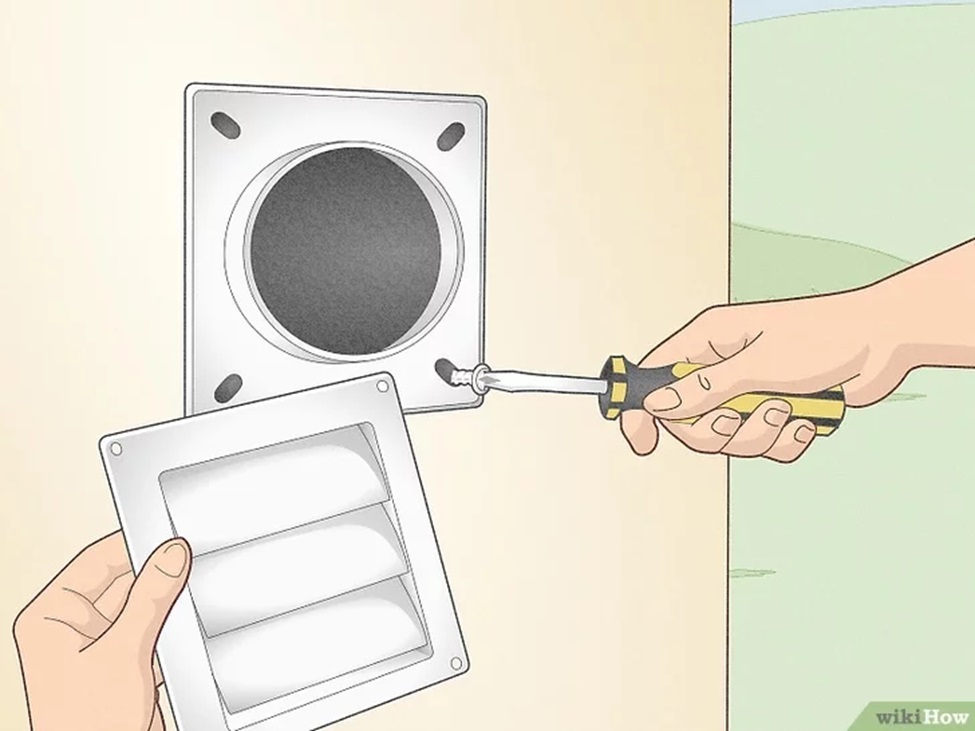
Installing Exterior Vent Cap and Damper
Following the cutting of the vent holes, the next step involves installing the exterior vent cap using screws and sealing the edges with caulk to effectively safeguard against water infiltration. For range hoods equipped with a damper, it’s essential to carefully measure and mark the duct size before installation, thus preemptively averting the ingress of debris or pests through the exterior vent. Attention should be directed towards ensuring proper alignment and secure attachment of the vent cap, facilitating optimal airflow and ventilation performance. By meticulously addressing these installation requirements, homeowners can fortify their kitchen ventilation system, enhancing its efficiency and longevity while effectively mitigating potential issues such as water damage or pest intrusion.
Running Electrical Wiring
With meticulous attention, proceed to route the electrical wiring from the hood to the electrical box, prioritizing safety to mitigate potential hazards or obstructions along the way. As necessary, drill holes to facilitate the smooth feeding of the wire through the designated pathways, ensuring a secure and reliable connection. It is crucial to exercise caution during this process to prevent any inadvertent damage to the wiring and to uphold compliance with established electrical codes and safety standards. In instances where the wiring tasks appear complex or challenging, homeowners are advised to consider seeking assistance from a professional electrician, whose expertise can provide invaluable guidance and ensure the safe and efficient completion of the installation. By adhering to these precautions and seeking professional assistance when necessary, homeowners can navigate the electrical wiring aspect of the installation with confidence and peace of mind, ensuring both safety and functionality in their kitchen space.
Mounting the New Range Hood
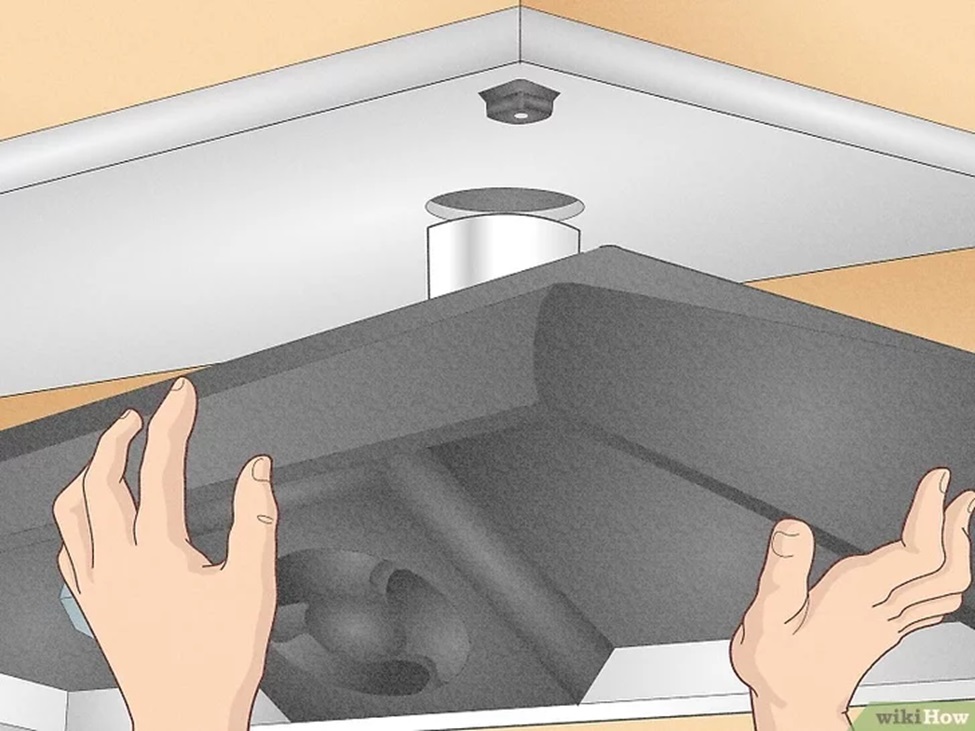
Once the new range hood is positioned, proceed to secure it in place using the mounting brackets or screws provided with the unit. Prioritize the alignment and leveling of the hood to prevent any instability or misalignment issues later on. Taking the necessary time and care during this step is crucial to achieve a secure and flush mount, which not only ensures the proper operation of the hood but also contributes to its longevity. By meticulously attending to these details, homeowners can establish a sturdy and reliable installation, enhancing the functionality and aesthetics of their kitchen space while minimizing the risk of future complications.
Connecting Wires and Attaching Accessories
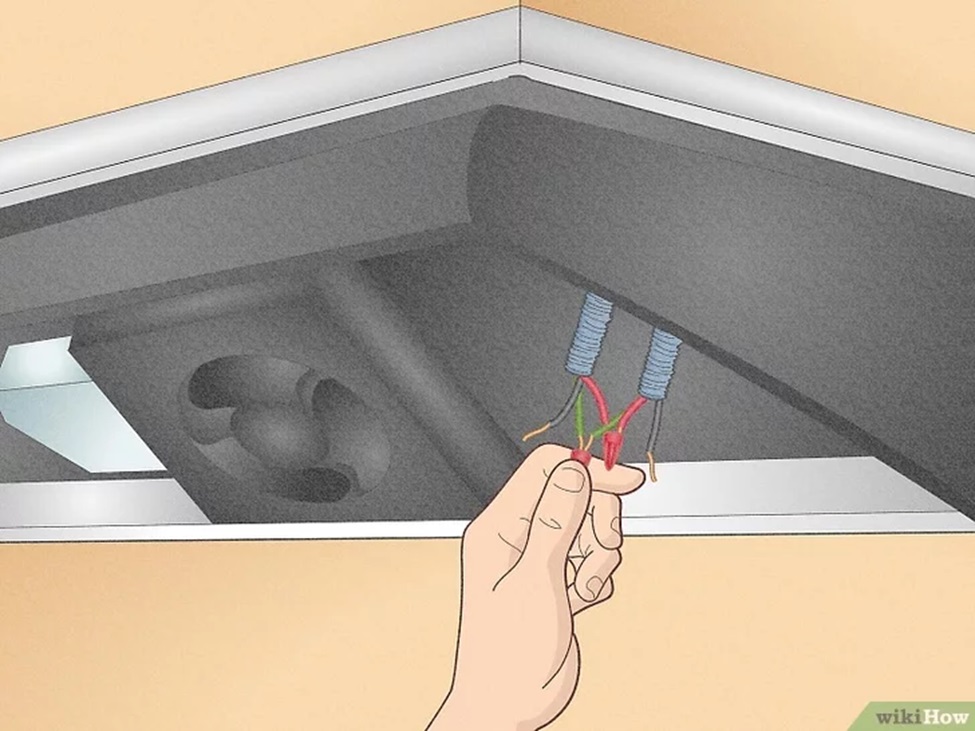
After securely mounting the hood, proceed to connect the corresponding wire colors from the hood to the electrical box, prioritizing a tight and secure connection to mitigate potential electrical hazards or malfunctions. Take care to follow the manufacturer’s instructions meticulously when attaching any additional accessories, such as filters or grease guards, ensuring they are installed correctly to optimize the hood’s performance. It is essential to double-check all connections and fastenings to confirm their security and proper alignment, thus enhancing the overall safety and functionality of the range hood installation. By diligently attending to these final steps, homeowners can ensure a reliable and efficient operation of their range hood while promoting a safer and more comfortable kitchen environment.
Testing the Range Hood
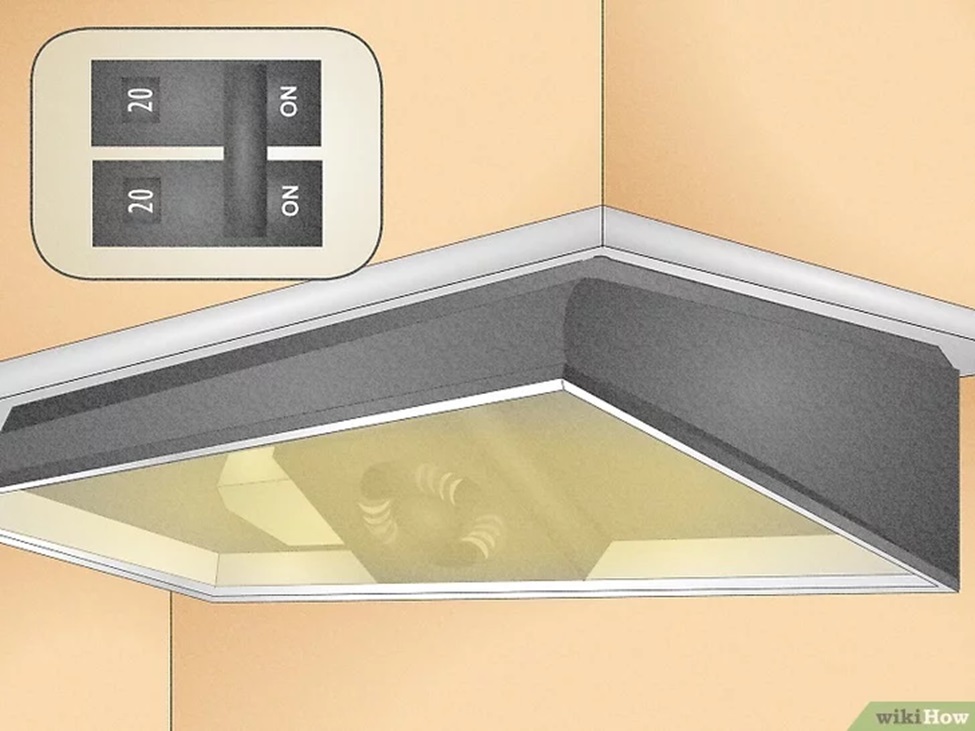
Upon completing the installation process, it is imperative to test the functionality of the range hood to verify proper operation. Begin by flipping the circuit breaker to the “ON” position and powering on the hood’s fan and light. Take note to ensure that the fan operates smoothly and effectively, efficiently removing air from the cooking area to maintain a comfortable environment. Additionally, it is essential to inspect the exterior vent to confirm that air is being expelled properly, serving as a clear indication of successful ventilation. By conducting these thorough tests, homeowners can ascertain the effectiveness and reliability of their newly installed range hood, promoting enhanced air quality and overall functionality within their kitchen space.
Completion and Final Checks
After the successful installation and testing of the range hood, it is essential to conduct a final inspection to guarantee everything is in proper working order. Thoroughly examine all connections, fasteners, and seals to confirm they are securely in place and free from any leaks that could compromise performance. Additionally, ensure that the hood is level and correctly aligned with the cooking surface to optimize its functionality. Take the time to clean any debris or residue left from the installation process, leaving the area neat and tidy. Finally, revel in the enhanced functionality and aesthetics of your kitchen with the newly installed range hood, confident in its ability to improve air quality and elevate the overall cooking experience. By completing this comprehensive inspection, homeowners can rest assured that their range hood installation is both successful and reliable, bringing added convenience and enjoyment to their culinary endeavors.