
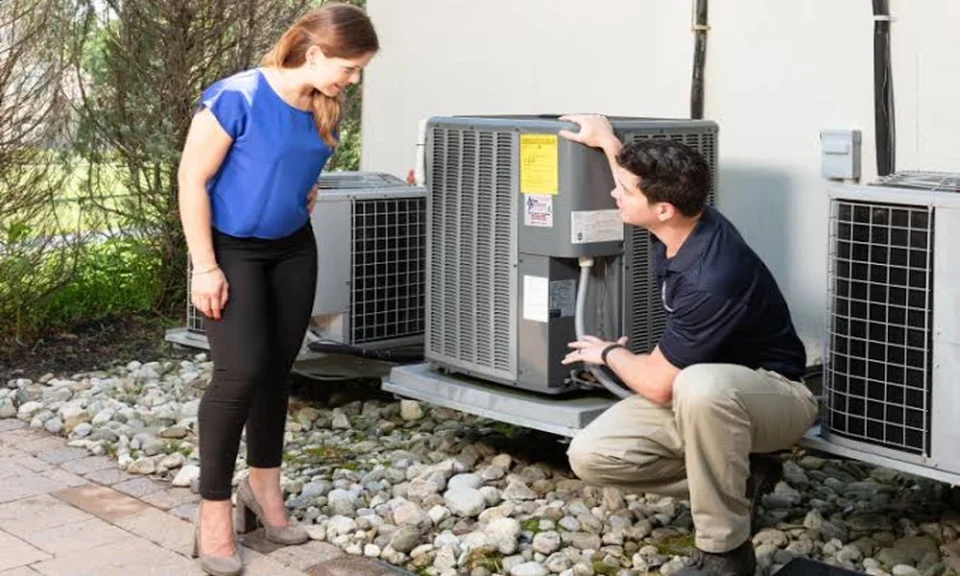
Replacing a heating and cooling system is a big decision, and a lot of homeowners feel uneasy simply because they do not know what the process looks like. Who comes first? How long does it take? What should be on the paperwork? If you are researching replacement services in Cocoa, this walkthrough follows a typical project from the first phone call to the final checkup, so nothing comes as a surprise.
Stage One: Deciding It Is Time
Most replacements start with a warning sign. Common ones include:
- Cooling that struggles on hot afternoons
- Repair bills that keep stacking up
- Rooms that are too warm, too cold, or too humid
- Strange noises, odors, or short bursts of running
- Energy bills that creep higher with no change in habits
- An aging system
According to the U.S. Department of Energy’s Guide to Home Heating and Cooling, if your heating or cooling system is over 15 years old, you can save on electric bills and improve your home’s energy efficiency by investing in new equipment. It adds that the right system depends on the size of your house, the amount of insulation, how much you use heating and cooling, and your local climate.
Stage Two: The In-Home Assessment
A good project starts with a visit, not a price list. A technician or comfort advisor should look at the whole house, not only the old equipment. Expect them to:
- Examine the existing indoor and outdoor units
- Check ductwork for leaks, damage, and poor design
- Ask about comfort problems in particular rooms
- Look at insulation, windows, and sun exposure
- Review how you use your home during the day and night
- Measure rooms or collect information for a load calculation
This is the moment to mention anything that bothers you, from noisy vents to stuffy bedrooms. Those details guide the recommendation.
Stage Three: Sizing the New System
Sizing is the most important technical decision, and it is easy to get wrong. The Department of Energy warns that oversized cooling systems can be noisy, provide inadequate thermal comfort, and lead to mold and poor indoor air quality, all while costing more than they should. A bigger unit is not a better unit.
The same guide points out that a commonly accepted old estimate of one ton of cooling for each 400 to 500 square feet does not take into account local climate or how well a house is sealed and insulated, and it advises insisting that your contractor use the Air Conditioning Contractors of America Manual J to calculate the proper size of equipment. In plain terms, a trustworthy contractor should do a real calculation, not guess from the size of your old unit.
Ask your contractor:
- How did you calculate the size of this system?
- What assumptions did you make about my home?
- Did you account for duct condition and insulation?
Stage Four: Comparing Options and Estimates
You will usually be offered a few choices. Look at them side by side.
| What to compare | Why it matters |
|---|---|
| Equipment type | Air conditioner with furnace, heat pump, or a full system |
| Efficiency rating | Higher ratings generally mean lower energy use |
| ENERGY STAR status | Independent confirmation of performance requirements |
| Features | Single-speed, multi-stage, or variable-speed operation |
| Ductwork work | Repairs, sealing, or changes included in the price |
| Warranty | Parts and labor terms, and how long each lasts |
| Total price | Equipment, labor, permits, disposal, and extras |
The Department of Energy recommends looking for systems with the ENERGY STAR label, which indicates the product meets performance requirements set by the U.S. Environmental Protection Agency. Ask for each estimate in writing, with the model numbers listed so you can compare like with like.
Stage Five: Scheduling and Preparation
Once you choose a contractor, you will agree on a date and sign a contract. Before installation day, you can help the crew by:
- Clearing a path to the indoor unit, the outdoor unit, and the thermostat
- Moving stored items away from the equipment area
- Securing pets and letting family members know about the noise
- Asking about permits and who is responsible for them
- Planning for a day or two without heating or cooling, depending on the project
If your schedule is flexible, mild-weather days are easier than extreme ones.
Stage Six: Installation Day
A typical replacement follows a sequence like this:
- Protection. The crew covers floors and sets up a work area.
- Removal. The old equipment is disconnected, the refrigerant is handled according to regulations, and the old units are removed.
- Setup. New indoor and outdoor equipment is placed, connected, and secured.
- Connections. Refrigerant lines, electrical connections, drain lines, and ductwork are connected and sealed.
- Controls. A new or compatible thermostat is installed and programmed.
- Startup and testing. The crew checks refrigerant levels, airflow, safety controls, and drainage.
- Cleanup. Debris is hauled away and the area is left tidy.
Most residential replacements can be done in a day or two, though more complex jobs with ductwork changes can take longer.
Stage Seven: The Final Walkthrough
Before the crew leaves, ask for a walkthrough. Make sure you know:
- How to operate the thermostat and any smart features
- Where the air filter is and how to change it
- Where the shutoffs and breaker are located
- What the warranty covers and how to register it
- Who to call if something seems off
- What the first-week behavior should look like
Keep your invoice, equipment model numbers, warranty documents, and manual in a single folder.
Stage Eight: Care After Installation
Good care protects your new system and keeps it running efficiently. The Department of Energy says following a regular maintenance schedule can reduce heating and cooling costs by 5% to 10% and prolong equipment life. Its suggestions include:
- Hire a professional technician for preventive checkups, with air conditioners inspected in the spring and furnaces in the fall
- Clean or replace filters monthly during seasons of peak use
- Seal duct leaks to help control humidity and dust
- Keep the area around the outdoor unit clear of weeds and debris so air can circulate freely
- Check for disconnected or crushed ductwork that could keep conditioned air from reaching its destination
Questions to Ask Before You Sign
- Who will do the work, and are they licensed and insured?
- Will you pull the required permits?
- What exactly is included in the price?
- How long will the installation take?
- What warranty comes with the equipment and with your labor?
- What happens if there is a problem after installation?
- Can you provide references from recent local jobs?
A confident contractor answers these clearly and puts the answers in writing.
Final Thoughts
A system replacement is far less stressful when you know the steps. Watch for the warning signs, insist on a proper sizing calculation, compare written estimates, and plan for ongoing maintenance. Do that, and your new system can deliver comfort and savings for many years.
